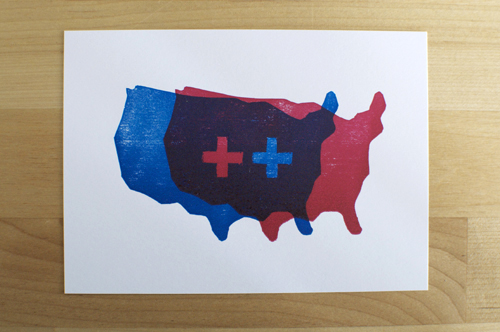
Em Space, the local book arts center I’m involved with, put on their first anniversary show recently and asked members to submit a small printed piece so we could send a Petite Print Suite collection as a thank-you to people who had helped the organization in its first year. The theme was “print terminology” and I chose registration (basically, lining up two or more colors when printing, usually using a guide such as a X or dots to align colors). Little did I know that registration would be the least of my worries when producing 100 copies of the bar-4 card.
I chose to do a linoleum cut because 1) I am frugal, 2) I thought it would be easy, and 3) I had waited too long to get a plate made. I settled on my design and started carving away…
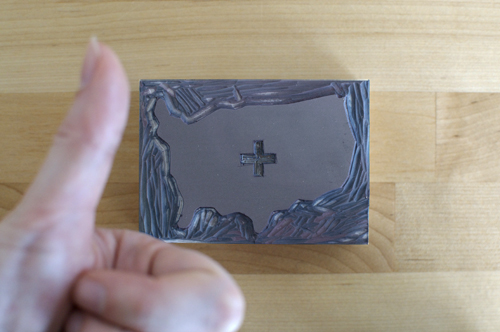
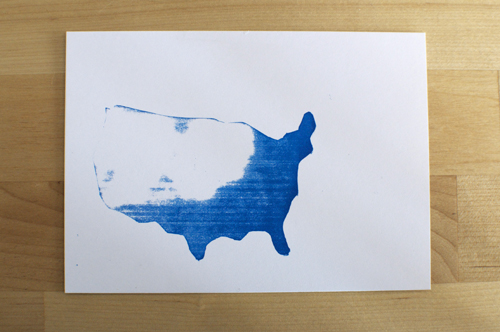
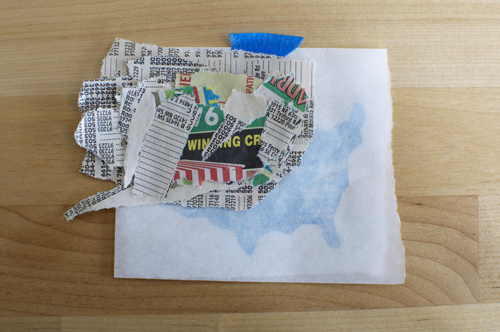
To compensate for the dead spot (I like Oregon, it shouldn’t get the shaft because of some printing problems) I used torn newsprint to build up the area underneath the blank spot, so when the paper made contact with the linoleum block the surface receiving ink would be even, thus giving Oregon and the Western US its full due.
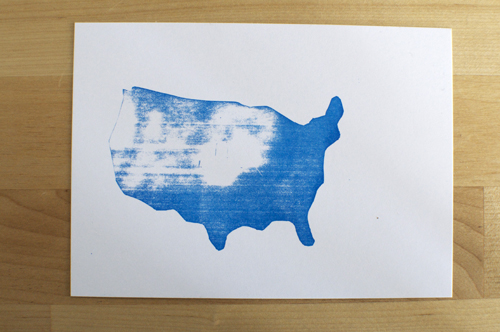
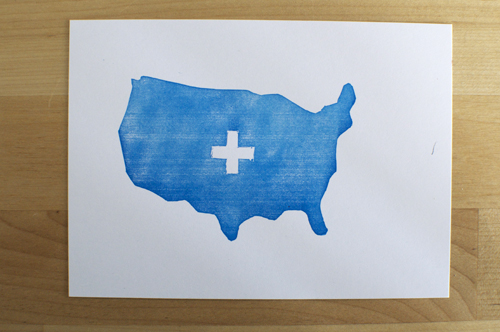
I had some ghosting problems with too much ink being pulled off the rollers in one spot. A dark area shows up along the southern border where the full amount of ink was left from the previous impression. To combat this I pulled 1 and a half times (inked the block twice) to even out the ink film prior to impression.
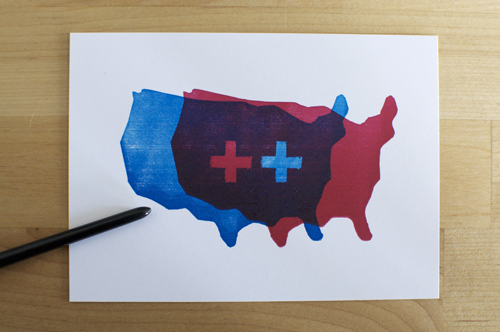
At least once I got the first color right, the second was a breeze.
